
Introduction
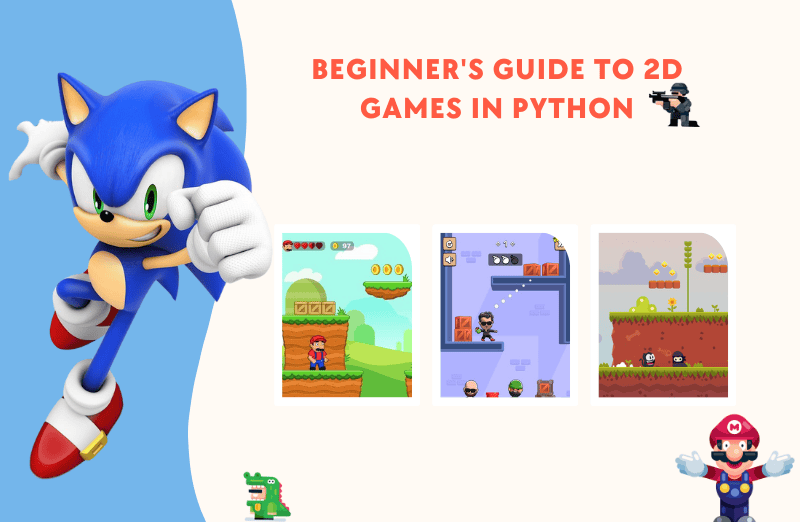
Are you always fascinated about games but never had the chance of creating one thinking that it will be difficult or complex to begin with? Well, with Python programming, anything you do is like cake-walk! There are various kinds of software and applications that carry codes like that of a container or library to run python code easily.
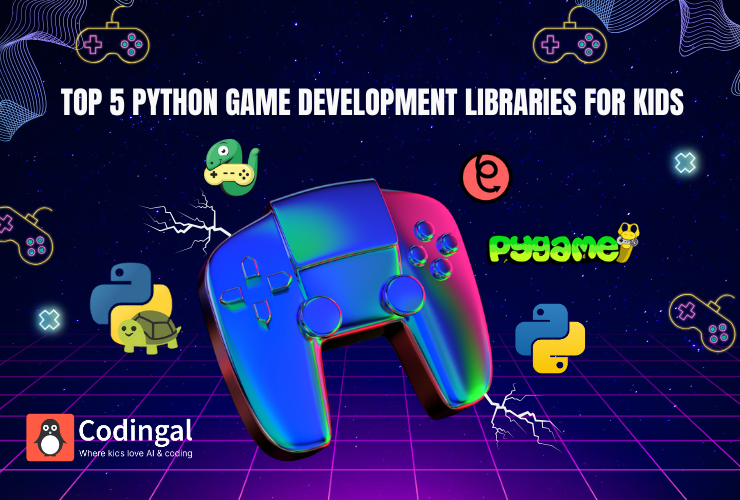
Hence, it will be a cakewalk for your to create 2D games with Python. One among these is ‘Pygame’. Pygame is kind of a library that makes it easier for you to code with inbuilt tools like graphics, sound, etc.
By the end of this article, you will be able to easily understand and learn to make a simple 2D game using Python. Let’s walk you through it step-by-step:
How to Make 2D Games with Python
Step 1: Set up Python and Pygame
Now we are gonna start with our basic Python library, which is Pygame. Pygame makes it easier to build games by giving you tools to control things like graphics, sound, and player input. So, let’s install Pygame first.
Here’s how you do it:
Open your command prompt (on Windows) or terminal (on Mac/Linux).
Use the following command and hit enter:
pip install pygameOnce you have Pygame installed, you are now all set to make your own game!
Step 2: Create Your Game Window
Every game needs a window where the action takes place. Let’s start by creating a simple game window.
import pygame
pygame.init()

# Set up the game window
screen = pygame.display.set_mode((800, 600))
pygame.display.set_caption("My First Game")

# Game loop
running = True
while running:
    for event in pygame.event.get():
        if event.type == pygame.QUIT:
            running = False

    # Fill the screen with a color
    screen.fill((0, 0, 255))  # This fills the screen with blue
    pygame.display.update()

pygame.quit()
In this code:
- We first import Pygame and initialise it.
- We set the size of our window to 800 pixels wide and 600 pixels high.
- We then use a game loop, which keeps the game running until the player quits.
- The screen is filled with blue colour using RGB values (Red, Green, Blue).
Step 3: Add a Player Character
Now let’s add a player character to the game. We’ll use a simple square to represent the player.
# Player settings
player_x = 370
player_y = 480
player_speed = 0.3

while running:
    for event in pygame.event.get():
        if event.type == pygame.QUIT:
            running = False

    # Moving the player
    keys = pygame.key.get_pressed()
    if keys[pygame.K_LEFT]:
        player_x -= player_speed
    if keys[pygame.K_RIGHT]:
        player_x += player_speed

    # Fill the screen
    screen.fill((0, 0, 255))

    # Draw the player
    pygame.draw.rect(screen, (255, 0, 0), (player_x, player_y, 50, 50))

    pygame.display.update()
Here’s what’s happening:
- We use the pygame.draw.rect() to draw a red square now that represents the player.
- We allow the player to move left and right using the arrow keys.
- The player’s position changes based on the keys pressed.
Step 4: Adding Enemies

A game isn’t complete without some challenges! Let’s add an enemy that moves back and forth across the screen.
# Enemy settings
enemy_x = 200
enemy_y = 50
enemy_speed = 0.2

while running:
    # Check for player input
    for event in pygame.event.get():
        if event.type == pygame.QUIT:
            running = False

    # Moving the player
    keys = pygame.key.get_pressed()
    if keys[pygame.K_LEFT]:
        player_x -= player_speed
    if keys[pygame.K_RIGHT]:
        player_x += player_speed

    # Moving the enemy
    enemy_x += enemy_speed
    if enemy_x >= 750 or enemy_x <= 0:
        enemy_speed *= -1  # Reverse direction

    # Fill the screen and draw player and enemy
    screen.fill((0, 0, 255))
    pygame.draw.rect(screen, (255, 0, 0), (player_x, player_y, 50, 50))
    pygame.draw.rect(screen, (0, 255, 0), (enemy_x, enemy_y, 50, 50))

    pygame.display.update()
- The green enemy moves back and forth across the screen by adjusting the enemy_x value.
- When the enemy reaches the edges of the screen, it changes direction.
Step 5: Collision Detection
Now we need to check if the player touches the enemy. If they collide, we’ll end the game. Collision detection can be done using simple math.
def is_collision(player_x, player_y, enemy_x, enemy_y):
    distance = ((player_x - enemy_x)**2 + (player_y - enemy_y)**2) ** 0.5
    return distance < 50

while running:
    # Check for collision
    if is_collision(player_x, player_y, enemy_x, enemy_y):
        print("Game Over!")
        running = False

    # Rest of the code to move player, enemy, and update the screen...
- The is_collision() function checks the distance between the player and the enemy.
- If the distance is less than 50 pixels, we assume they have collided, and the game ends.
Step 6: Adding Score and Lives
 Finally, let’s add a score to track how long the player survives. You can also add lives to give the player multiple chances.
score = 0
lives = 3

while running:
    # Collision detection
    if is_collision(player_x, player_y, enemy_x, enemy_y):
        lives -= 1
        if lives == 0:
            print("Game Over!")
            running = False
        else:
            # Reset positions
            player_x = 370
            enemy_x = 200

    # Increment score
    score += 1
    print(f"Score: {score} Lives: {lives}")

    # Update the screen...
Conclusion
Congratulations! You’ve now created a basic 2D game in Python all by yourself! The player can move left and right, avoid an enemy, and keep track of their score. You can expand this game by adding more features like new enemies, power-ups, or levels. Wasn’t that interesting? Jump right on to fun code camps for kids, where kids can learn to adapt to the digital world of coding through simple and fun learning experiences! Let them join their first trial class today!
Encourage learning everywhere you go and have fun with your coding journey! Happy Coding!