Table of Contents
Introduction What are Scratch Clones? Why Use Scratch Clones? How to Use Scratch Clones? Example of Cloning in Scratch ConclusionScratch Cloning: How to Make Multiple Copies of Sprite
Introduction
Scratch is a visual programming language that uses block-based coding to make the learning of coding easy and simple, especially for kids. In this way, Scratch Programming makes coding the most fun and affordable ways to learn coding in the world. Another one of its coolest features is cloning, which allows you to create multiple clones of the sprites and control their behavior. These Scratch clones are extremely useful when you want many similar set of objects in your project, like enemies in a game, stars in the sky, or raindrops in an animation.
By the end of this article, you will understand what cloning is, how to use it in Scratch, and why it’s helpful.
What Are Scratch Clones?
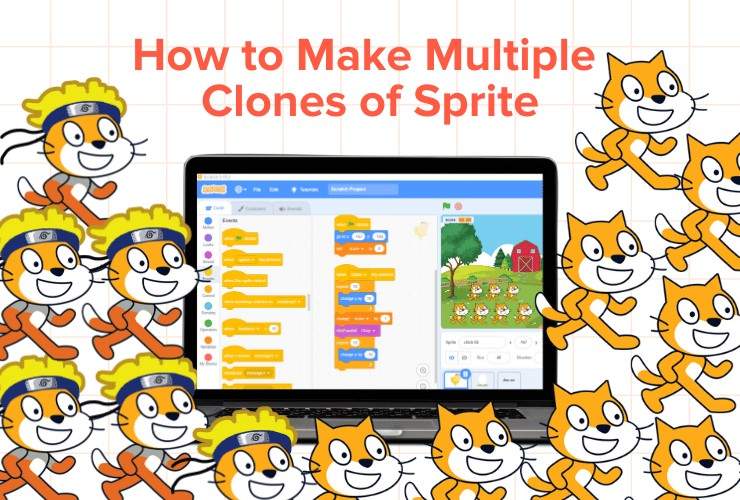
If you’re a fan of anime like Naruto, then cloning in scratch is just another Jutsu like it! Cloning in Scratch means creating an exact copy of a sprite while the project is running. Once a sprite is cloned, you can make the clones perform actions independently of the original sprite, just like how Naruto acts with his shadow clones!

For example, if you’re creating a multiplayer shooting game, you could use cloning to create multiple bullets that shoot from your character. Each bullet behaves like the original, but every clone can move independently, giving your game a more dynamic feel with a more challenging aspect like that of a real battle royale!
Why Use Scratch Clones?
Cloning can be incredibly useful for many reasons:
- Simplifies Your Code: Instead of creating one separate sprite and writing code for each object you want to control (like each bullet in a game), you can then use cloning to create one set of code that works for multiple objects and not just one.
- Creates Dynamic Animations: Want to create flying birds, or bouncing balls? Well then, Cloning allows you to not only generate these objects on the fly and control how they move, this feature makes your animations feel alive.
- Efficient Game Design: In games, cloning is great for creating more players like enemies, obstacles, or other game elements that has to appear multiple times. You can control each clone individually, or even automatically let it perform actions, although they all come from the same original sprite.
- Better Performance: Cloning allows Scratch projects to run more smoothly, as it saves memory by storing the data and reusing one sprite and making copies of it instead of creating many different sprites from scratch.
How to Use Scratch Clones
Using cloning in Scratch is simple. You just need a few basic blocks to create clones and control what they do. Let’s walk through the steps to set up cloning in a project.
1. Create a Sprite (Character)
First, choose or draw the sprite that you want to clone. This could be a character, an object, or any extent you want the graphics to be like, you can multiply it in your project.
2. Go to the “Create clone” to create a clone of your own:

Now if you want to create a clone of your sprite, use the block of “create clone of [myself]” in where you’ll find it in the Control category. This block allows the sprite to make a copy of itself.
You can place this block inside a script that controls when and how often clones are created. For example, you might put it in a block “when green flag clicked” if you want clones to start appearing when the project begins, or you could place it inside a “forever” loop to create clones continuously one by one.
3. Control What Clones Do
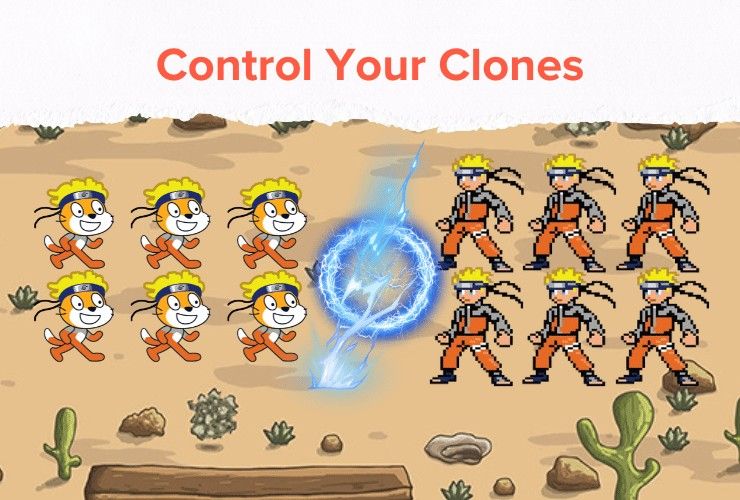
Now once again like the anime Naruto, you can control your own rasengans! Once a clone is created, you can control its behaviour using the “when I start as a clone” block, also in the Control category. This block tells the clone what to do after it is created.
For example, you might want the clone to move, disappear after a certain time, or interact with other sprites. The script you attach to this block will only apply to the clones, not the original sprite.
4. Delete Clones
After a clone has done its job, you might want it to disappear. Use the block “delete this clone” to remove a clone from the project. This is helpful if you’re creating things like bullets or falling objects, where you want clones to come and go over time to keep the project clean and efficient.
Example of Cloning in Scratch
Now that you know the process, let’s take a look at this simple project that uses cloning to make multiple copies of a sprite.
Example: Shooting Bullets in a Game

In this example, you’ll create a game where your character can shoot bullets. Each time you press the spacebar, a new bullet of the clone will be created and it can start moving across the screen.
- Create the Character: Draw your own or choose a character sprite.
- Create the Bullet: Draw a small and simple bullet sprite.
- Set Up Cloning: Use the following blocks for the bullet sprite:
- “When space key is pressed” block to detect when the player presses the spacebar.
- Inside that, add the “create clone of myself” block to create a new bullet each time the spacebar is pressed.
- Then use the block that says “when I start as a clone” to make the bullet move forward.
- Add now a “delete this clone” block so the bullet disappears when it reaches the edge of the screen.
Now, if anyone or even you press the spacebar, your character will shoot bullets that move across the screen and go away after once they go off the screen.
Conclusion
Cloning is actually a powerful tool in Scratch that allows you to create multiple copies of a sprite while your project is running. It can range from various aspects like whether you’re making a game, animation, or interactive story, cloning in this way can can simplify your code and make your project more efficient.
By learning how to use cloning, you’ll be able to create more complex and exciting projects that engage and entertain your audience. So, start experimenting with cloning today and see what you can create! Jump right on to the fun coding for kids, where your kids learn to adapt to the digital world of coding through simple and fun learning experiences! Let them join their first trial class today!
Encourage learning everywhere you go and have fun with your coding journey! Happy coding!
