Table of Contents
Introduction What is a Thumbnail? Scratch Programming Explained Creating a Thumbnail Thumbnail Inspiration Ideas ConclusionIntroduction
Are you ready to become a coding wizard? In this tutorial, we will learn how to make a thumbnail in Scratch, a fun and interactive programming language. With Scratch, you can create your own games, animations, and even practical tools like thumbnails! So let’s dive in and create a captivating image for your scratch project!
What is a Thumbnail?
A thumbnail is a small, miniature version of a larger image or video. It’s like a tiny sneak peek or preview that gives you an idea of what the larger image or video is about. You might have seen thumbnails when browsing videos on YouTube or images in a photo gallery.

Thumbnails are often used on websites, social media platforms, and video-sharing sites to help people quickly understand what the content is about before they decide to click and view the full image or video.
Scratch Programming Explained
Scratch is a visual programming language and an online community developed by the MIT Media Lab. It is designed to teach coding concepts to beginners, especially kids, in a fun and interactive way.
Scratch provides a graphical interface where users can drag and drop blocks of code to create animations, games, stories, and interactive projects. If you are new to scratch programming, then we recommend you read this introductory article on block coding.
Guide to Creating a Thumbnail
To create your amazing thumbnails, we’ll use the Scratch editor. Before we jump into creating, let’s plan our thumbnail.
Think about what your project is about and what makes it exciting. Is it a thrilling game with robots battling in space, or a colorful animation with dancing characters? Decide on the main theme and elements you want to include in your thumbnail.
Step 1: Backdrop
Every great thumbnail needs a fantastic background. In Scratch, we can use the Stage as our canvas. Click on the “Stage” icon at the top to open the Stage editor. Choose a backdrop that matches your project’s theme. It could be a starry night, a beautiful landscape, or anything that sets the right mood!
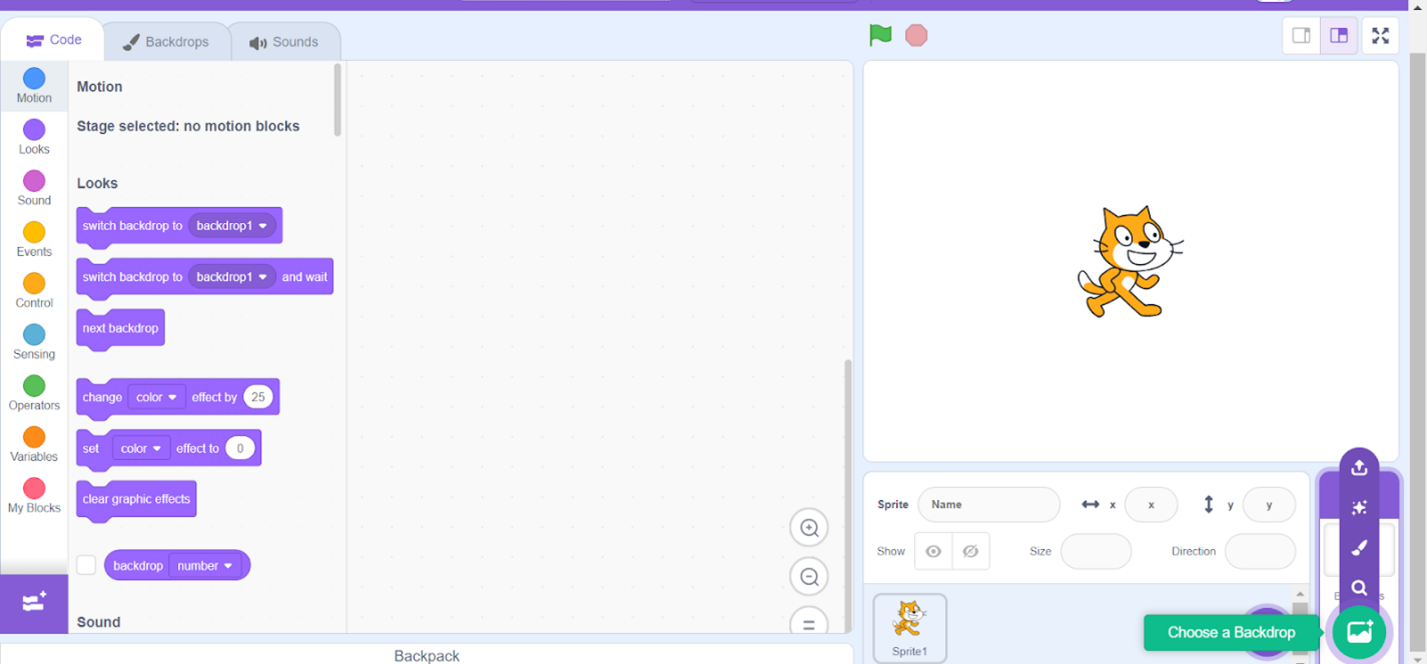
I am making a thumbnail for my current topic with a simple design.
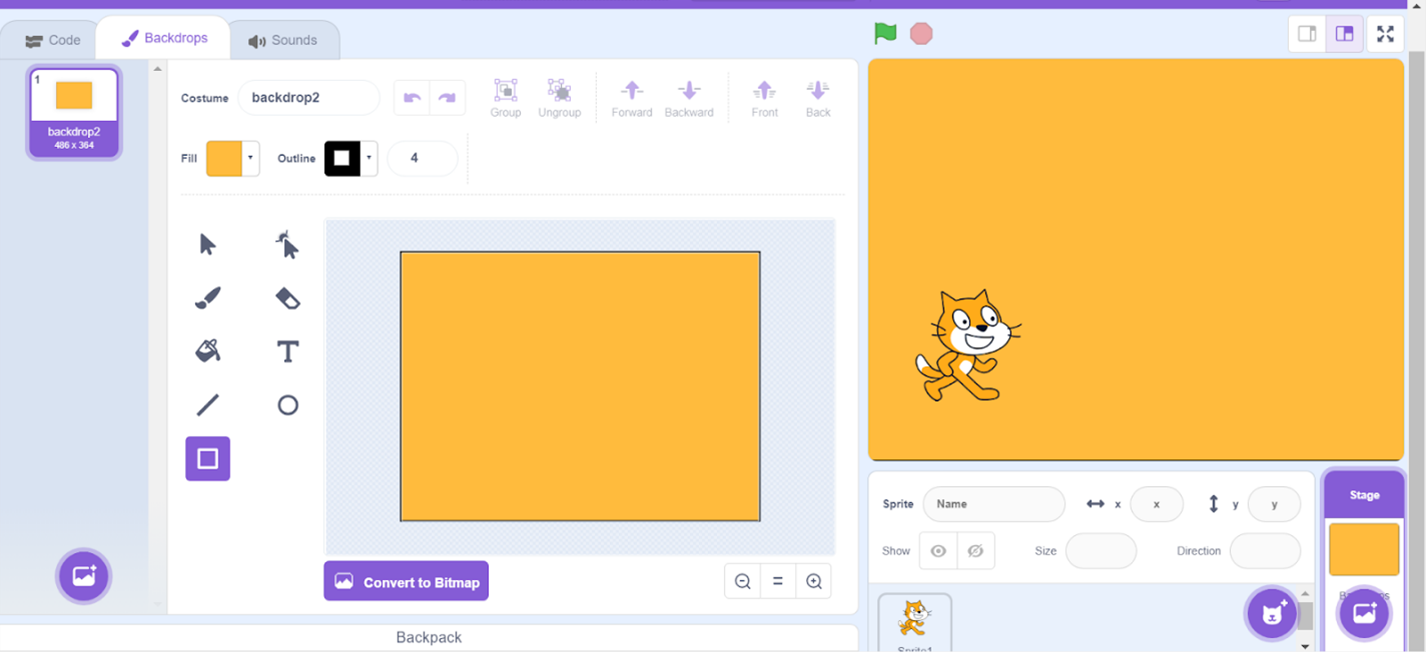
Step 2: Adding Characters and Props
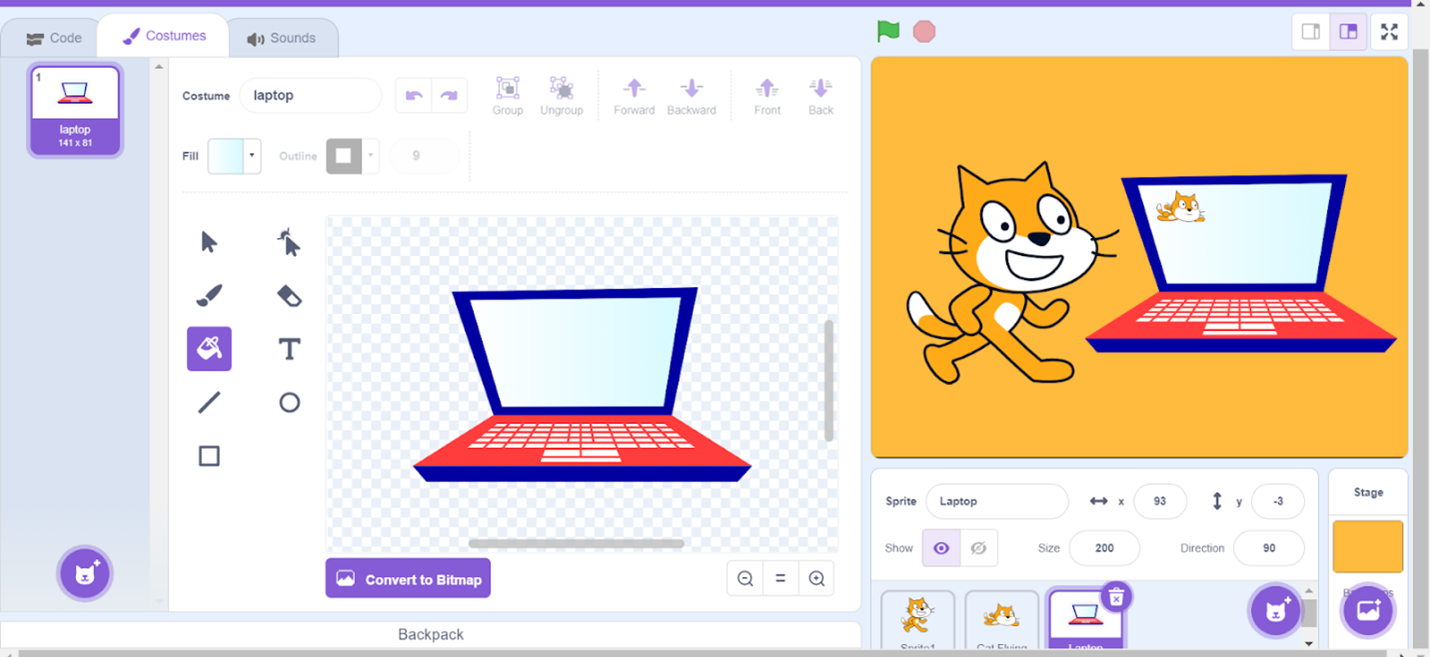
Now, let’s bring our characters and props to life! You can create your sprites (characters) from scratch or choose from the vast library of sprites available in Scratch.
Go to the “Choose a Sprite” button and pick your favorite characters, objects, or animals to include in your thumbnail. Remember, it’s your magical world, and you’re the master storyteller!
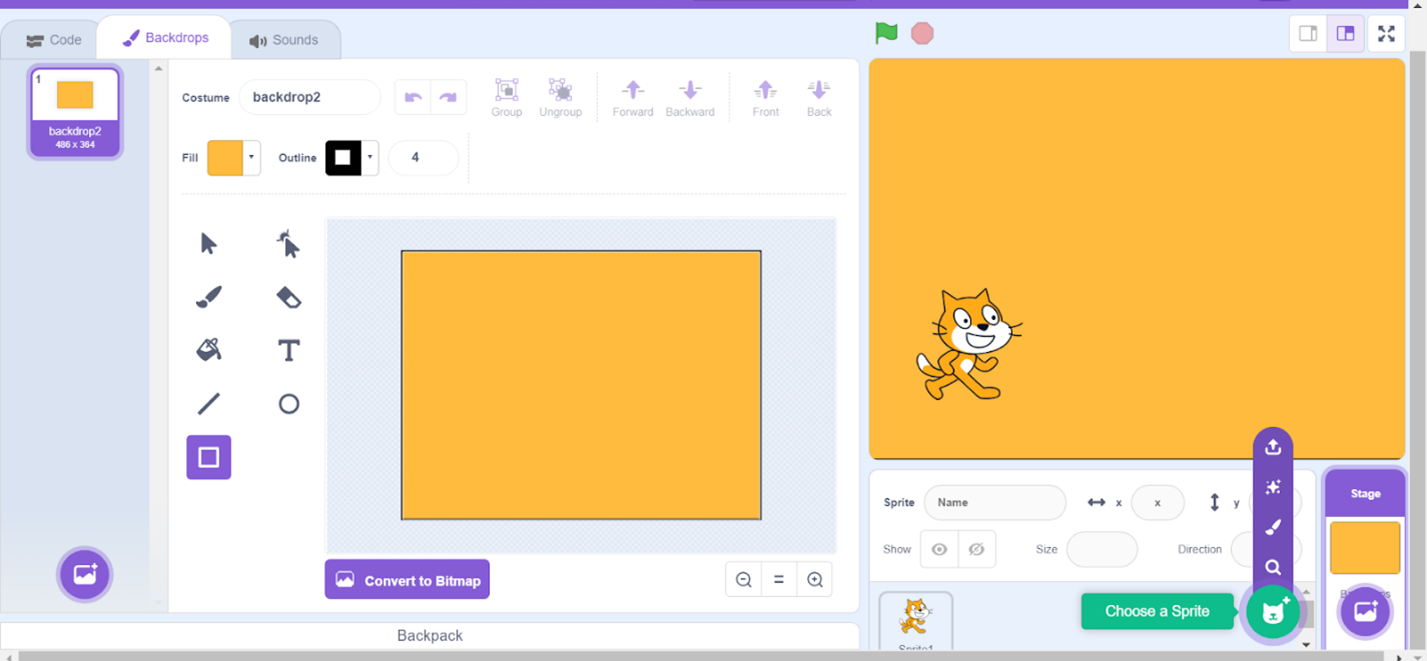
I have added a few sprites to my thumbnail too.
Step 3: Adding Text and Title
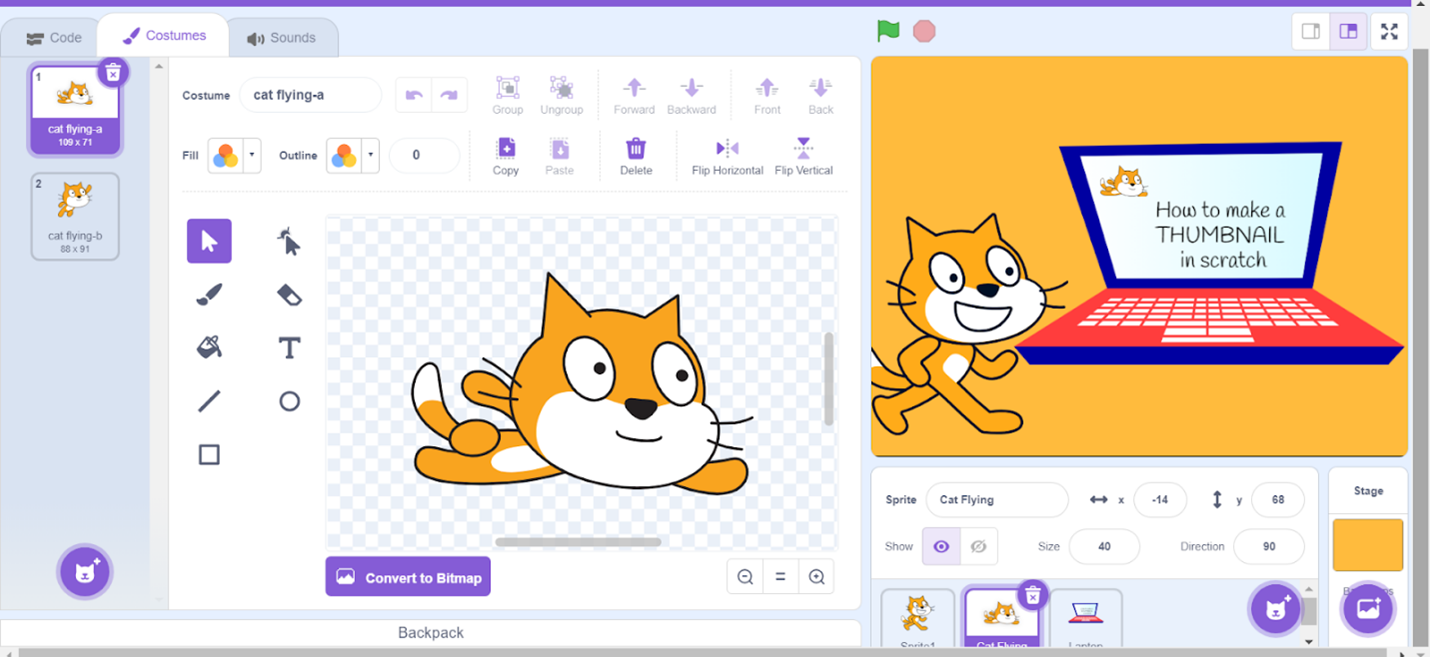
Every awesome thumbnail needs a title! Click on the “Text” button in the Scratch editor, and you can add text to your thumbnail. Write a catchy title that represents your project. It could be the name of your game, animation, or whatever you want to call your magical creation!
Step 4: Special Effects
Let’s add some magical effects to make your thumbnail sparkle! Use the “Looks” and “Sound” blocks in Scratch to create dazzling animations and sounds. You can make your characters dance, add twinkling stars, or create a cool intro animation. This is your chance to add that extra magic to your thumbnail!
Step 5: Saving Your Thumbnail
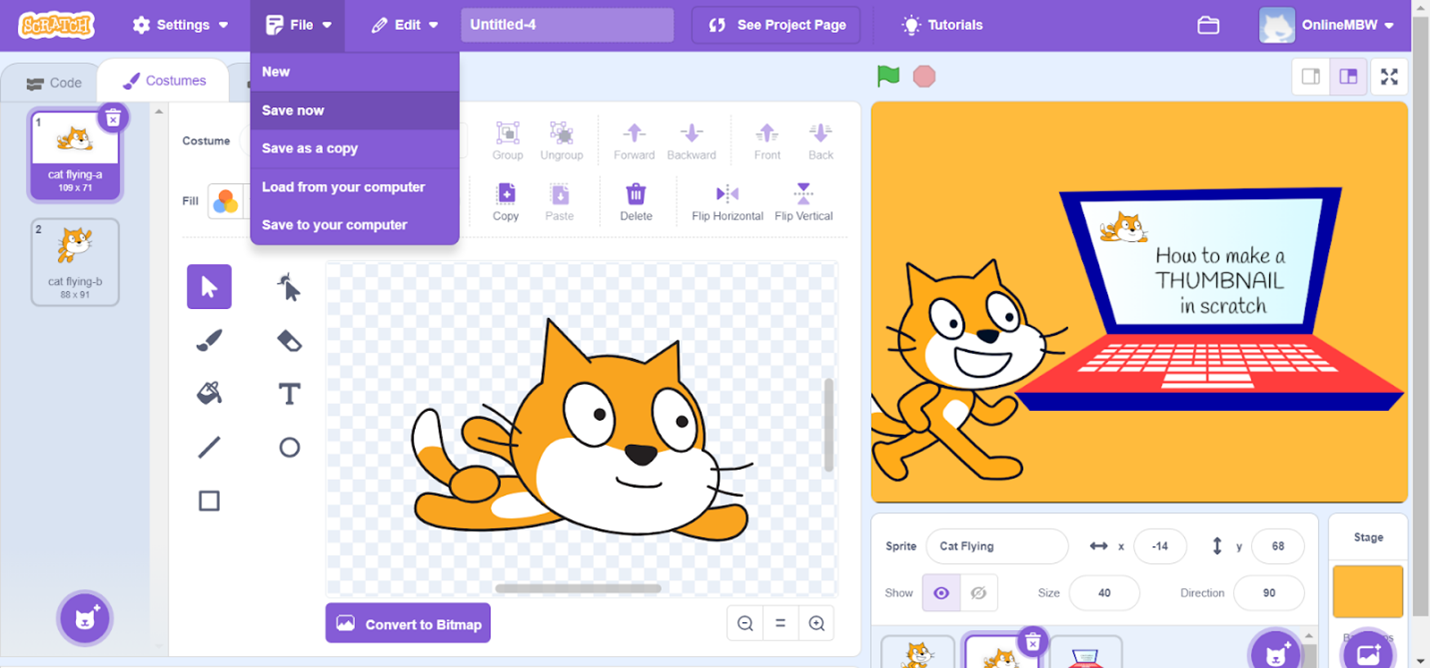
You’ve worked hard on your captivating thumbnail, and now it’s time to save it! Click on the “File” menu and choose “Save now” to save your project. Your thumbnail will automatically be saved as part of your Scratch project.
Step 6: Sharing Your Masterpiece
Congratulations, young creators! You’ve made a stunning thumbnail for your Scratch project! Now, it’s time to share your masterpiece with the world. Click on the “Share” button to publish your project on the Scratch website. I am sure others will love your work as much as you love it!
Thumbnail Inspiration Ideas
Looking for thumbnail ideas? We have got you covered! Make sure to follow these points when making your next thumbnail:
- Eye-Catching Characters: Feature your main characters or subjects from your project front and center in the thumbnail. Use fun poses and expressions to pique viewers’ curiosity.
- Vibrant Colors: Experiment with bold and vibrant colors that grab attention. Use contrasting colors to make your elements pop.
- Clear and Simple Text: Add a catchy title or a brief description using clear and easy-to-read text. Choose a font that complements your project’s theme.
- Dynamic Action Shots: Capture the excitement of your project by showing action shots or dynamic poses. Action-filled thumbnails are sure to intrigue viewers.
- Magical Backgrounds: Create fantastical backgrounds that match your project’s theme.
- Playful Animations: Animate elements in your thumbnail to catch the eye. Simple movements or playful transitions can make your thumbnail more engaging.
- Frame Within a Frame: Place your main characters or elements within a decorative frame to add an artistic touch to your thumbnail.
- Use White Space: Leave some white space around your elements to create a clean and organized look. White space helps draw attention to your main subject.

Conclusion
Congrats! You’ve learned how to make eye-catching thumbnails in Scratch to showcase your projects in the best possible way. Your thumbnail is now a doorway to your amazing creations, inviting others to step into your world of imagination.
Remember, a great thumbnail speaks volumes about your project and captures people’s attention. So, have fun experimenting, be bold with your ideas, and let your creativity soar as you create more and more magical thumbnails for your fantastic Scratch projects!
Scratch is a powerful tool that allows you to unleash your creativity and learn the basics of coding in a fun and engaging way. Begin your journey in scratch programming with Codingal’s fun and elaborative course, where you can unlock your full potential and learn something new at every step. So keep learning with us, and who knows what amazing projects you’ll create next?

