Table of Contents
Introduction What is a Mini-Golf Game? Scratch Programming Creating a Scratch Mini Golf Game ConclusionScratch Mini Golf Game
Introduction
Are you new to Scratch, or are you a pro game coder?
Have you ever played a mini-golf game in the arcade and ever wanted to recreate it?
If yes, then look no further, as this is just the right article for you.
In this tutorial will guide you through all the steps to make a mini-golf game in Scratch!
With Scratch, you can create your own games and animations and even customize already existing games!
This guide will give you all the steps and tricks to make your characters play golf just by the click of a button! So, let’s GOLF into the article!
What is a Mini Golf Game?
Mini golf, miniature gold, mini-putt game, they all mean the same thing!
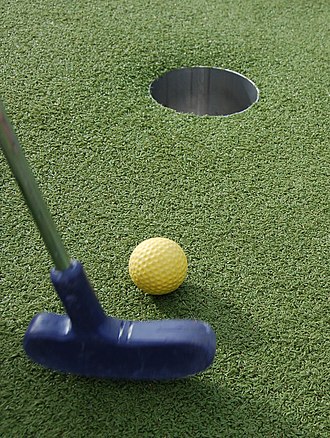
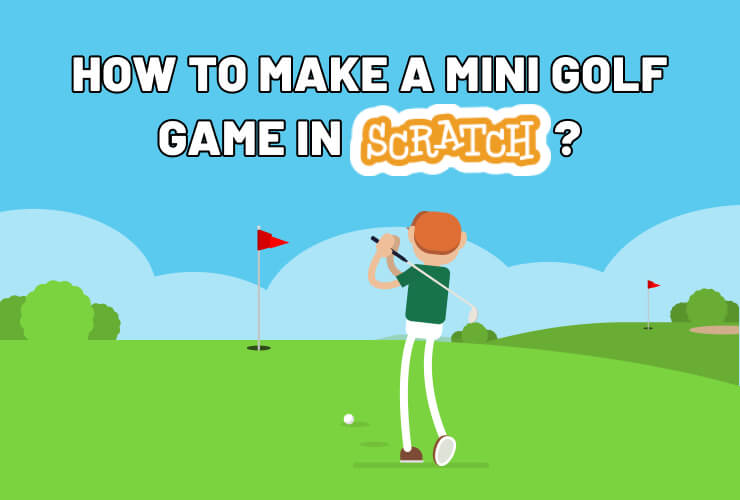
This game is very much like the original golf game, except it solely focuses on putting the ball in the hole.
The game aims to score the lowest number of points. It is played on courses consisting of a series of holes. This game is now available in many digital versions, like Golf-putt, Golf-party, Mini-Golf Club, etc.

The main objective is usually to put the ball in the hole while avoiding obstacles and minimizing the number of hits to the ball. For example, if it takes you 2 strikes to putt the ball, then it’s awesome as compared to your friend who has to use 5 strikes to putt the ball!
Now that you know how this game works, it’s time to build your own mini-golf game!
Scratch Programming
Scratch is a visual programming language and an online community developed by the MIT Media Lab. It is designed to teach coding concepts to beginners, especially kids, in a fun and interactive way.
Scratch provides a graphical interface where users can drag and drop blocks of code to create animations, games, stories, and interactive projects. If you are new to scratch programming, we recommend reading this A to Z Guide on Block Coding.
Create a Scratch Mini-Golf Game
To create this iconic game, we’ll use the Scratch editor. Before we jump into creating, let’s plan our game.
Think about what kind of game you want to make. Think about any customization to the golf ball.
Do you want to add obstacles or multiple platforms?
Do you want to add a scoring system?
What do you want the backdrop to be?
Decide on the main theme and elements you want to include in your game. This tutorial will guide you in creating a ‘bird’ s-eye-view’ perspective of a mini golf club!
Step 1: Backdrop
Every great game needs a fantastic background. In Scratch, we can use the Stage as our canvas. Click on the “Stage” icon at the top to open the Stage editor. Choose a backdrop that matches your project’s theme.

We have gone with a simple green background that denotes green field!

Step 2: Adding a Ball
Now, let’s bring the main golf ball character into our game! You can create your sprites (characters) from scratch or choose from Scratch’s vast library of sprites.
Go to the “Choose a Sprite” button and click on “Choose a Sprite”. Select any type of ball you want!

Now, this is what my console will look like:

Step 3: Adding a Ball Pit
Now, you need to add a ball pit in which we need to put the golf ball in order to win. Just repeat step 2 for the ball bit, except change the size and color of the pit.

Step 4: Ball Movement Code
Time for coding! You need your golf ball to move in the direction wherever you point the mouse cursor. You need to make 2 new variables: “speed” and “moving” for the game. You can learn here how to create a variable in Scratch.
First, add this code block in which you are just initializing the ball component:

Then, we need to add this code block for the golf ball to mimic our cursor movement.

Step 5: Pit and Ball Detection
You’ve worked hard on your game so far! Congratulations!
Now, let’s code some more. We want the ball to go in the hole whenever it is close to the ball pit and the level to be successfully conquered.
So, add this code block in the continuation of the previous golf ball code.

Step 6: Game Over Screen
You are just one step closer to completing this easy game!
We just want this “Game Won” backdrop to show up when the players successfully putt the golf ball.
First, create a game-won screen:

Then, add this code block for the “Game Won” screen:

Last thing, you need to initiate this “Game Won” screen when the players puts the ball in the hole.
Just add this small code block in the ball code:

Step 7: Time to Play
Yay! You have just made your Mini-Golf Game, and now you can enjoy it to the fullest! Make sure to challenge your friends and family members to play this game that you just created!
Conclusion
Congrats! You’ve learned how to make the golf game! But we did add a little twist to our game, and you might have implemented different obstacle and field logic.
Remember, have fun experimenting, be bold with your ideas, and let your creativity soar as you create more and more magical games for your fantastic Scratch projects!
You can further customize this game by adding sound effects, more obstacles, and multiple levels. Read this article to learn more about adding sound effects in scratch!
If you want to create some other cool games using Scratch, then here are 7 of the most fun and creative Scratch projects for teens and kids!
Scratch is a powerful tool that allows you to unleash your creativity and learn the basics of coding in a fun and engaging way. Begin your journey in scratch programming with Codingal’s fun and elaborative course, where you can unlock your full potential and learn something new at every step. So keep learning with us, and who knows what amazing projects you’ll create next?
